Plastic Injection Molding AI Defect Inspection: A Practical Guide

Injection molding produces a category of defects that are very specific, very visual, and very hard to catch reliably with the human eye at production speed. A 0.1mm sink mark on a black bumper. A weld line on a transparent housing. A flash burr on a connector body. Each one is the kind of defect a quality engineer can spot in a lab but loses to fatigue on a 12-hour shift at 240 parts per minute.
This is the kind of inspection problem AI vision is built for. Concrete, repeatable, visually distinct defects on a relatively bounded set of part geometries. The economics work, the deployment is fast, and the ROI is well-documented. BMW's Leipzig plant reported a 34 percent reduction in scrap rates after integrating AI vision into bumper production. That is not an aspirational number. It is what consistent inspection at line speed delivers when the system is properly tuned.
This post is a working defect catalog and deployment guide for plastic injection molding AI inspection. See also the Molded Part Integrity application page for the full Overview AI architecture for this segment.
The defect catalog
Sink marks
Small surface depressions caused by uneven cooling, typically over thick wall sections or rib bases. Cosmetic on visible surfaces, structural on functional ones. Sub-millimeter sink marks (0.1 to 0.5mm depth) are the hardest class to catch by eye, particularly on dark or textured surfaces. AI vision detects them reliably with grazing-angle lighting and a depth-aware classifier.
Short shots
Incomplete mold fill, leaving a part with missing geometry. Always a reject. Easy to detect by silhouette comparison against a known-good baseline. Short shots are typically the first defect class deployed because the detection is straightforward and the consequence (failed assembly downstream) is high.
Flash
Excess material at parting lines, vents, or ejector pin locations. Flash on functional surfaces causes assembly issues; flash on cosmetic surfaces is a customer reject. Detection requires sub-millimeter edge resolution along the entire parting line. AI classifiers trained on flash geometry handle this well; rule-based vision systems struggle because the parting line varies subtly across mold tools and material lots.
Weld lines (knit lines)
Visible seams where two flow fronts meet during fill. Always present but sometimes prominent enough to be a cosmetic reject. Weld lines on transparent or translucent parts are particularly visible. Detection approach: surface texture classifier with location-aware thresholding (some weld lines are acceptable in non-visible regions).
Warping
Dimensional distortion from uneven cooling or residual stress. Catches in 3D inspection or via dimensional comparison against the CAD model. Warping is one of the cases where pure 2D AI vision is insufficient; pair with structured-light or laser triangulation for measurement.
Splay (silver streaks)
Streaks on the surface caused by moisture in the resin or process variation. Cosmetic reject on visible surfaces, especially on dark or pigmented materials. Detection: trained classifier on streak texture, with high recall priority because splay often indicates upstream resin handling issues that need attention.
Burn marks
Dark discolored regions where trapped air ignites during fill, typically at the end of long flow paths. Always a reject. Detection: color-based classifier with shape and location filtering to distinguish from texture variation.
Voids and bubbles
Internal pockets visible on transparent parts; on opaque parts, voids show as surface depressions or weakness. Detection: transparent parts use backlight imaging plus AI classifier; opaque parts require depth-aware detection or post-cure thermal imaging where line architecture allows.
Foreign material contamination
Particulate, fiber, or color contamination from upstream resin handling. Detection: pixel-level segmentation classifier trained on the specific contamination types observed in your facility. Synthetic data augmentation is particularly helpful here because real contamination samples are rare and varied.
Where to put the camera
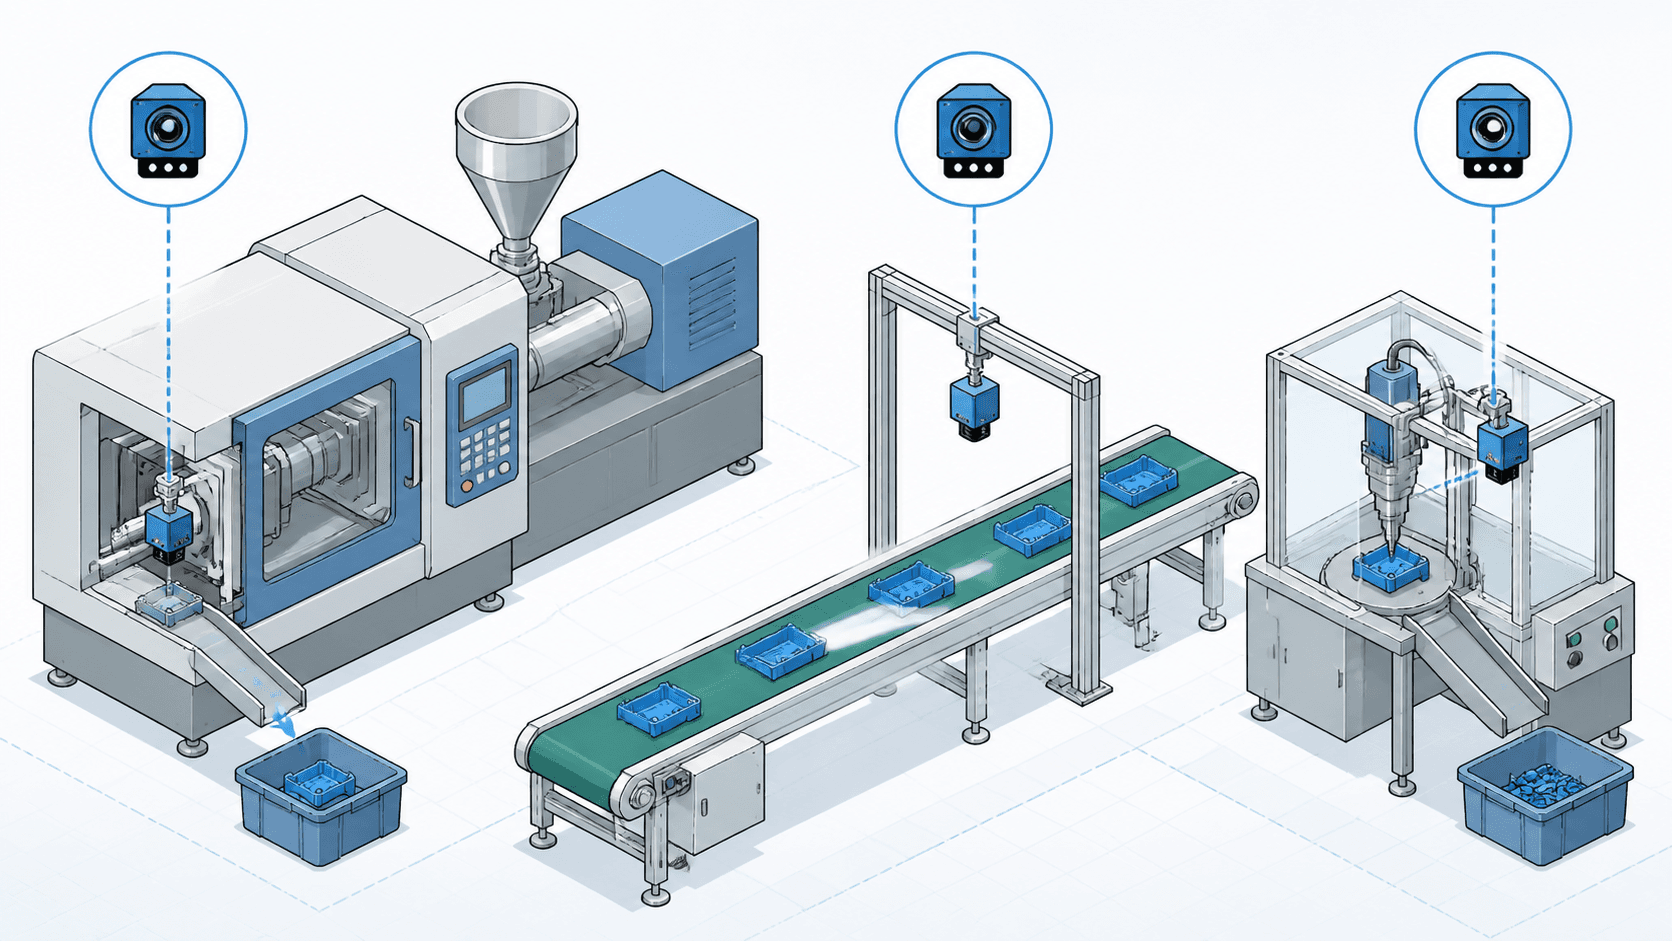
Three placement options for the inspection camera, each with different tradeoffs:
Press-side, immediately after ejection. Catches defects before any handling damage occurs. Allows the press control system to flag and divert the bad part automatically. Drawback: thermal stress on the camera, vibration from the press, and limited camera angles.
Post-conveyor, before downstream processing. Most common placement. Stable thermal environment, multiple camera angles possible, full 360-degree inspection feasible. Drawback: defective parts may have already been handled or stacked.
Post-trim or post-secondary operation. Useful when secondary operations (degating, trimming, bonding) introduce their own defect classes. Run an inspection before and after each secondary step to localize the failure mode.
For most lines, post-conveyor is the right starting point. Press-side cameras are worth the thermal-management investment for high-cycle, high-cost parts where catching the reject before it leaves the press meaningfully reduces downstream waste.
Lighting matters more than the camera
Most injection molding inspection failures are lighting failures, not algorithm failures. Black plastic, glossy surfaces, and complex geometries require careful lighting design. Lighting best practices covers the architectural choices in detail.
The shortlist for injection molding:
- Diffuse dome lighting for highly reflective or glossy surfaces.
- Grazing-angle structured lighting for sink marks, dents, and surface defects.
- Backlighting for transparent or translucent parts to detect voids and inclusions.
- Coaxial lighting for highly specular surfaces where reflections need to be controlled.
- Multi-spectral imaging for color-similar contamination that isn't visible in standard RGB.
Training data: starting from 5 to 20 images
Modern AI vision platforms reach production-grade accuracy on injection molding defect classes with as few as 5 to 20 real defective images per class. The trick is not raw image volume; it is image quality and diversity within the production envelope.
For rare defect classes (less than 1 per 10,000 parts), synthetic defect generation closes the gap without waiting months to accumulate enough natural samples. See our whitepaper on synthetic data in HVMM manufacturing for the full mechanism.
When you have a single mold tool that produces multiple part variants (different colors, different inserts, different post-mold processing), train per-variant models. Style Transfer propagates the same defect class across variants without re-collecting samples for each color or material change.
Production economics
Typical injection molding lines see scrap rates of 1 to 5 percent on stable production. AI vision deployments consistently report 20 to 40 percent reduction in that scrap rate, mostly by catching defects earlier and preventing downstream value-add on bad parts.
At a typical line producing 10 million parts per year at $0.50 per part, a 30 percent scrap reduction on a 3 percent baseline scrap rate recovers roughly $45,000 per year per line. Inspection systems pay back inside a year on most production volumes; on automotive Tier-1 part programs, payback is typically under 6 months.
Getting started
Most successful injection molding deployments follow a 4-week shape. Week 1: install camera at the chosen inspection point, capture good and defective samples for the priority defect class. Week 2 to 3: expand to all defect classes and part variants. Week 4: integrate to PLC, automate reject diversion, validate against parallel manual inspection.
For more on the deployment shape, see Fast Implementation.
Inspecting injection molded parts?
Send us images of your hardest defect class, plus a few good-part references. We will train a model and benchmark it against your current inspection in under a week, with a 30-day money-back pilot.
Request an Injection Molding PilotFrequently Asked Questions
What defects can AI vision detect on injection molded parts?
AI vision systems detect the full range of injection molding defects: sink marks, short shots, flash, weld lines, warping, splay, jetting, burn marks, voids, and surface contamination. Sub-millimeter sink marks (down to 0.1mm) can be detected reliably with proper lighting and camera resolution.
How fast can AI vision inspect injection molded parts?
Sub-100ms inference per part is standard for production AI vision systems, supporting cycle times under 1 second per part on most molding lines. The bottleneck is usually image capture (lighting and motion stability), not inference.
What ROI does AI defect inspection deliver in plastic injection molding?
BMW's Leipzig pilot reported a 34 percent reduction in scrap rates after integrating AI vision into bumper production. Most injection molding deployments report scrap reduction in the 20 to 40 percent range, with payback periods of 3 to 9 months on typical line volumes.
How many training images are needed for injection molding defect detection?
Modern AI vision platforms reach production-grade accuracy with 5 to 20 real defective images per defect class on most molding applications. Synthetic data generation can supplement rare defect classes that occur at 1 per 10,000 parts or less.
See how Overview AI inspects plastic injection moldings
Send us a photo of your part or defect and a vision engineer will tell you whether Overview can catch it, with most systems deployed on the line in days.
Related Articles
What Defects Can AI Vision Systems Detect?
A comprehensive guide to the defect types AI vision systems reliably identify in production environments.
Read More →Train a Defect Detection Model in One Hour
How to build and deploy a production-ready defect detection model in under an hour with minimal samples.
Read More →ROI of Computer Vision in Manufacturing
How to calculate the return on investment from AI vision inspection deployments in manufacturing.
Read More →